
New Zealand arrival declaration
eGate and Arrival Process in New Zealand
A clear walkthrough of arriving in New Zealand: disembarking, passport control at the eGate or a desk, baggage claim and the strict biosecurity check, with tips to clear quickly.
After a long flight, arriving in New Zealand is quicker than many travellers expect, because the paperwork is already done before you land. Your New Zealand Traveller Declaration (NZTD) is linked to your passport, so at the border it is checked automatically, at the eGate or by an officer. This guide walks you through the whole arrival journey step by step, from the aircraft door to the exit, and explains how the eGate works and why there is no QR code to show.
In brief: the arrival journey runs disembark, passport control, baggage claim, biosecurity, then out. If you are aged 10 or over with an ePassport and a completed NZTD, you can use the eGate at Auckland, Wellington, Christchurch or Queenstown. There is nothing to print or scan; your declaration is tied to your passport. New Zealand's biosecurity check is strict, so declare any risky items.
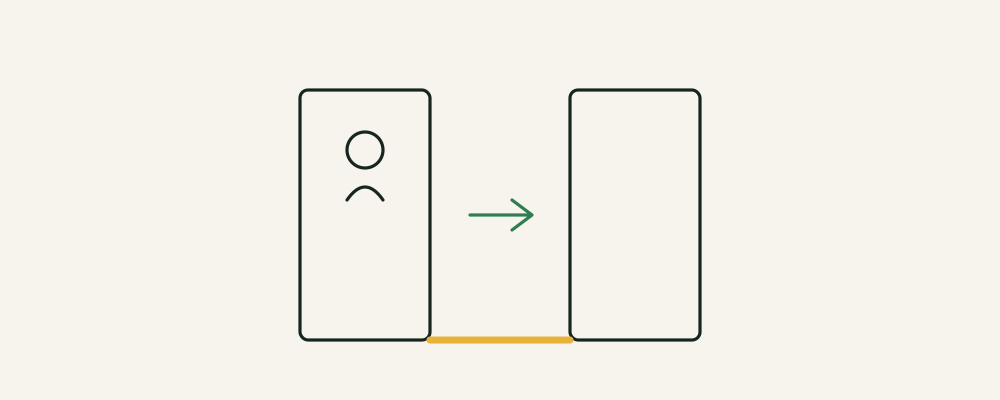
The arrival journey at a glance
Every international arrival in New Zealand follows broadly the same path. Knowing the order in advance makes the whole thing feel calm and familiar, even after a 24-hour trip via Dubai, Singapore or Los Angeles.
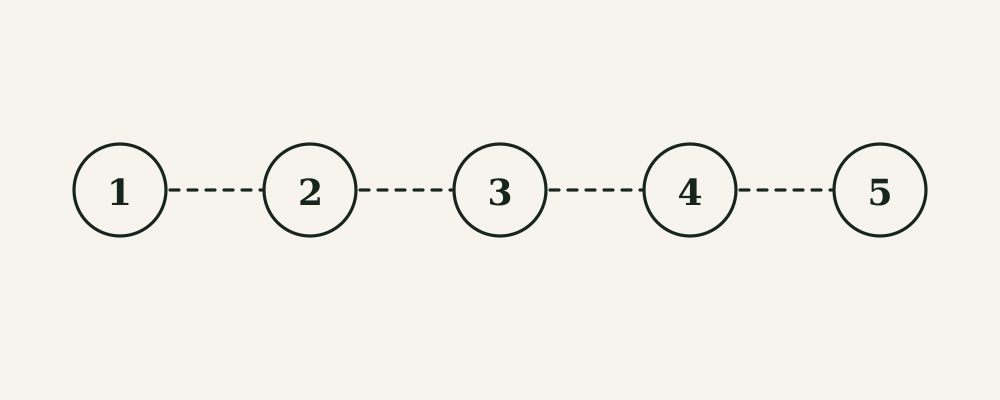
The sequence is:
- Disembark the aircraft and follow the Arrivals signs.
- Passport control, at the eGate or a staffed desk, where your NZTD is checked against your passport.
- Baggage claim, where you collect your checked luggage.
- Biosecurity screening, where your bags and any declared items are checked.
- Exit into the arrivals hall.
The key thing to understand is that your declaration work is finished before you land. You do not fill anything in on arrival and you do not queue to hand over a card. Everything hinges on your passport.
In short: disembark, passport control, bags, biosecurity, out; the NZTD is already done and linked to your passport.
Your NZTD is already linked to your passport
This is the point that surprises first-time visitors most. Once you submit your NZTD, whether on the official website or in the app, it is attached to your passport. There is no barcode you have to keep, no screenshot to find, and no QR code to present.
At the border, the system simply reads your passport and pulls up your declaration. If you used the eGate, this happens automatically. If you go to a desk, the officer sees it on their screen. You may receive a confirmation email after submitting, and it is fine to keep it, but you will not be asked to show a code from it.
Good to know: because everything is linked to the passport, the single most important thing is that your NZTD is submitted before you reach passport control. You can do it from 24 hours before your journey begins. See when to submit the NZTD for the timing.
In short: your declaration travels with your passport; there is nothing to print, scan or show.
Before you reach passport control
Most of a smooth arrival is decided before you even land. By the time the seatbelt sign goes off, your declaration should be done and your bag should hold nothing you would rather not explain.
In the last stretch of your journey, it helps to:
- Confirm your NZTD is submitted. It must be complete before you reach passport control, so do not leave it for the arrivals hall.
- Check your passport is the one you declared with. The declaration is linked to a specific passport, so travel on that document.
- Finish or bin any fresh food on the plane rather than carrying it off.
- Have your passport within easy reach in a pocket or the top of your bag.
- Fill in the arrival card only if you are ever asked to; in almost all cases the NZTD has already replaced it.
- Note where you will be staying, as a first-night address is part of the declaration.
Cabin crew often hand out reminders about New Zealand's biosecurity rules during the descent. Take them seriously; they are there because the rules are genuinely strict and the fines are real.
Good to know: if you are connecting from another country, your journey to New Zealand may have begun more than 24 hours ago. That is fine for submitting the NZTD, which opens from 24 hours before your travel to New Zealand starts. If unsure about timing, see when to submit the NZTD.
In short: land with your NZTD submitted, the right passport to hand and no stray fresh food in your bag.
How the eGate works
The eGate is an automated passport gate that lets eligible travellers self-process in seconds instead of queuing for an officer. It is available at New Zealand's main international airports: Auckland, Wellington, Christchurch and Queenstown.
To use the eGate you need to meet all of these conditions:
- You are aged 10 or over.
- You hold an ePassport, the type with an electronic chip and the small camera symbol on the cover.
- Your NZTD is completed and linked to your passport.
- Your passport is valid and readable, with no damage to the chip or photo page.
Using it is straightforward. You place your passport on the reader, the gate opens, and a short automated process confirms your identity, often with a photo. Because your NZTD is already linked, there is nothing extra to type or show. When it clears, you walk through and head for baggage claim.
In short: at Auckland, Wellington, Christchurch and Queenstown, an eGate reads your ePassport and checks your NZTD automatically for travellers aged 10 and over.
Who cannot use the eGate
The eGate suits most travellers, but not everyone qualifies, and that is completely normal. If you cannot use it, you go to a staffed desk, where an officer processes you in the traditional way. Your NZTD is still checked against your passport there.
You will use a manned counter rather than the eGate if:
- You are under 10 years old.
- Your passport is not an ePassport (no electronic chip).
- The eGate cannot read your passport or complete the identity check for any reason.
- An officer needs to speak with you, for example about your visa or entry conditions.
- You are travelling on an emergency or temporary travel document, or your passport is damaged.
Families often split at this point, with an adult taking younger children to a desk while older members use the gate. There is no disadvantage to going to a counter; it is simply the other route through the same border. For more on travelling with minors, see NZTD for families and children.
Good to know: using a staffed desk does not mean anything is wrong with your declaration. Officers process thousands of arrivals this way every day, and your linked NZTD appears on their screen just as it would at the gate.
In short: under-10s, non-ePassport holders and anyone the system cannot process go to a staffed desk, where the NZTD is still checked.
If the eGate does not accept your passport
Occasionally an eGate cannot read a passport or complete the identity check on the first try. This is routine and nothing to worry about. A worn passport page, a photo that will not match, or a simple positioning issue can all cause it.
If the gate does not open:
- Follow the on-screen prompt or reposition your passport as shown.
- If it still will not work, step aside to a staffed desk, where an officer processes you manually.
- Your NZTD is already linked to your passport, so the officer can see it; you do not need to redo anything.
There is no penalty for being redirected. The eGate and the staffed desk are two doors into the same country, and either one gets you through with your declaration intact. Staff are on hand around the gates precisely to help travellers who need the manual route.
In short: if the eGate cannot read your passport, an officer processes you at a desk and your linked NZTD still applies.
Baggage claim, then biosecurity
Once through passport control, you collect your checked bags at the carousel. Then comes the part New Zealand is famous for: biosecurity screening. This is where the answers you gave in your NZTD matter.
New Zealand protects its agriculture and unique environment with some of the strictest biosecurity rules anywhere. As you leave, you may encounter:
- Detector dogs trained to sniff out food, plant material and other risk items in your bags.
- X-ray machines that screen luggage for undeclared goods.
- Officers who may ask about your declaration and inspect your bags.
If you declared items on your NZTD, this is where they are checked. Declaring is not a problem; it simply routes you to an officer who decides whether an item can come in. Failing to declare risky goods is the problem, and it can lead to an instant fine. The rule is always the same: if in doubt, declare it. For the full list, read what to declare at New Zealand biosecurity and New Zealand customs allowances.
Good to know: detector dogs work quietly around the baggage hall and near the exit, not just at a single checkpoint. Do not carry an apple or a sandwich out of habit; eat it or bin it before you land.
In short: collect your bags, then pass biosecurity, where dogs, X-ray and officers check declared and undeclared items; always declare if unsure.
Connecting flights and domestic transfers
Many visitors do not stop at their first New Zealand airport. If you are flying on to another city, you still clear the full arrival process, including biosecurity, at your first point of entry. You do not carry undeclared risk items on to a domestic leg.
A few things worth knowing if you have an onward flight:
- You clear immigration and biosecurity at your arrival airport, even if your final destination is elsewhere in the country.
- After biosecurity, you follow signs to domestic transfers or collect and recheck your bags as your airline directs.
- Leave enough connection time. A first international arrival with baggage claim and biosecurity can take a while, especially at busy periods.
- Check whether your onward flight is from the same terminal, as some transfers involve a short walk or shuttle.
If you are travelling as a family, remember that younger children go to a staffed desk while older members can use the eGate, so allow a little extra time to regroup before any onward flight. For families, see NZTD for families and children.
In short: you complete arrival and biosecurity at your first airport, then transfer; leave generous connection time.
How the NZTD fits the wider entry rules
The NZTD is the arrival declaration, but it is not the only thing that may govern your entry. It sits alongside separate requirements that depend on your nationality, and it helps to keep them clear in your mind before arrival day.
Depending on where your passport is from, you may also need:
- An NZeTA (New Zealand Electronic Travel Authority), a paid travel authority for visa-waiver nationalities and some transits, arranged in advance.
- Or a visa, if your nationality is not visa-waiver.
- The IVL conservation and tourism levy, usually paid together with the NZeTA or visa.
The NZTD itself is free and required for everyone, while the NZeTA and IVL are separate and cost money. Do not confuse them; they are different steps handled at different times. For a full comparison, see NZTD vs NZeTA vs IVL, and check your paperwork against NZTD requirements and documents before you fly.
In short: the free NZTD is one piece; an NZeTA or visa and the IVL may also apply depending on your nationality.
Arrival steps at a glance
Use this table to picture the whole journey and what you need at each point.
| Arrival step | What happens | What you need |
|---|---|---|
| Disembark | Leave the aircraft, follow Arrivals signs | Nothing; your NZTD is already done |
| Passport control | eGate or staffed desk reads your passport | Passport; NZTD already linked to it |
| eGate (if eligible) | Automatic identity and NZTD check | ePassport, age 10+, completed NZTD |
| Baggage claim | Collect your checked luggage | Your baggage tags if needed |
| Biosecurity | Dogs, X-ray and officers screen bags | Honest NZTD answers; declared items ready |
| Exit | Walk into the arrivals hall | Nothing further |
In short: the only documents that matter are your passport and the NZTD already attached to it.
Tips to clear the border quickly
A few small habits make arrival faster for you and everyone behind you:
- Have your passport ready in your hand as you approach passport control.
- Submit your NZTD before you land, ideally the day before, not in the queue.
- Know your eGate eligibility so you head to the right lane without hesitating.
- Eat or bin fresh food before landing so you have less to declare.
- Clean boots, tents and sports gear before you pack, so biosecurity waves you through.
- Declare honestly. A declared item is a quick conversation; an undeclared one can be a fine.
- Keep your group together and agree where to regroup if some of you use the eGate and others a desk.
- Do not photograph the border area; follow signs and staff instructions.
In short: passport in hand, NZTD done, clean gear and honest answers turn arrival into a short, calm walk.
Key points
- The arrival journey is disembark, passport control, baggage, biosecurity, exit.
- Your NZTD is linked to your passport, so there is no QR code to show.
- The eGate is for travellers aged 10+ with an ePassport and a completed NZTD.
- eGates are at Auckland, Wellington, Christchurch and Queenstown.
- Anyone who cannot use the eGate goes to a staffed desk, where the NZTD is still checked.
- Biosecurity uses detector dogs and X-ray; declare any risky items to avoid a fine.
FAQ: eGate and arriving in New Zealand
Do I need to show a QR code when I arrive?
No. Your NZTD is linked to your passport and checked automatically at the border. There is nothing to print or scan. You may get a confirmation email, but you will not be asked to show a code from it.
What order do things happen in on arrival?
You disembark, go through passport control at the eGate or a desk, collect your bags, pass biosecurity screening, and then exit into the arrivals hall.
Which airports have eGates?
New Zealand's eGates are at Auckland, Wellington, Christchurch and Queenstown. At other points of entry you are processed by an officer at a desk.
What do I need to use the eGate?
You must be aged 10 or over, hold an ePassport with an electronic chip, and have a completed NZTD linked to your passport. Meeting all three lets you self-process at the gate.
What is an ePassport?
An ePassport is a passport with an embedded electronic chip, usually shown by a small camera-like symbol on the cover. Most passports issued in recent years are ePassports.
What if I cannot use the eGate?
You go to a staffed desk, where an officer reads your passport and checks your NZTD in the usual way. This applies to under-10s, non-ePassport holders and anyone the gate cannot process. There is no disadvantage.
What happens at biosecurity?
After baggage claim, detector dogs, X-ray machines and officers screen your bags for food, plant and animal material and other risk items. Declared items are checked and either allowed in or held.
What if I forget to declare something?
Failing to declare risky goods can lead to an instant fine. If you realise you still have an item, declare it to an officer or use the amnesty bins before screening. When in doubt, always declare.
Can I complete my NZTD at the airport when I land?
It is far better to do it before you fly. The NZTD must be completed before you reach passport control, and you can submit it from 24 hours before your journey begins.
How long does the eGate take?
For an eligible traveller it usually takes seconds: place your passport on the reader, confirm your identity, and walk through. Any queue is normally short compared with a staffed desk.
Last updated: July 2026. Entry rules change; always confirm current requirements on the official New Zealand Traveller Declaration site before you travel.